9 Make-Ahead Thanksgiving Sides That Reheat Like a Dream

Thanksgiving morning is not the time to be peeling potatoes while the turkey rests and somebody is asking where the serving spoons live. This post gives you nine make-ahead Thanksgiving sides that reheat like a dream: creamy mashed potatoes, sweet potato casserole with pecan topping, classic green bean casserole, sausage and herb stuffing, roasted Brussels sprouts with bacon, honey-glazed carrots, corn casserole, cranberry sauce with orange, and a make-ahead turkey gravy. Every side is made one to two days ahead, goes into the fridge in the dish it will reheat in, then goes back into the oven at 350°F (175°C) on the day, and states its honest times, including prep, and its cost per serving, dated October 2026. Do the work while the kitchen is quiet, and keep Thanksgiving Day for the turkey.
Quick Facts
- Prep time: 5–25 minutes per side, stated on every recipe below
- Cook time: 15–45 minutes per side on the day you make it, stated per recipe — plus a day-of reheat at 350°F (175°C)
- Total time: Prep plus cooking plus reheating, nothing hidden — each side is made 1–2 days ahead and reheated on the day
- Servings: Each side serves 8 as a side dish — a proper scoop on a plate that also holds turkey and other sides, not a main-course portion
- Cost per serving: About $0.90–$1.70 per serving — based on standard supermarket prices, October 2026; yours will vary
- Equipment: 9×13-inch (33 x 23 cm) baking dishes and an oven set to 350°F (175°C) for reheating — the one equipment angle for the whole post. A large saucepan, a board and a knife are assumed
- Best for: Thanksgiving, Christmas and any big family meal where the oven schedule matters as much as the food
Why This Works on a Weeknight
- Fridge to oven, in the same dish. Every baked side is assembled in its 9×13-inch dish, covered and chilled, then reheated in that same dish — no transferring, no extra washing up on the day.
- One reheating temperature for everything. All nine sides reheat at 350°F (175°C) — or, for the cranberry sauce and gravy, warm gently on the hob while the oven does the rest — so the sides can share the oven in shifts.
- The work lands on a quiet day. One to two days ahead, the kitchen is calm and there is time to taste, season and tidy as you go. On the day, you are reheating, not cooking from scratch.
- Costs and times you can plan around. Every recipe states its prep time, its cooking time, its make-ahead window, its day-of reheat time, and its cost per serving, dated October 2026.
These sides are the holiday end of the same plan-ahead promise as our 12 Easy 5-Ingredient Slow Cooker Dinners — do the work once, let the dish hold, and serve when people are ready. And because a big meal needs something in a glass as well as on a plate, our 9 Easy Non-Alcoholic Mocktails That Taste Like the Real Thing are a good place to start for drinks everyone can have.
The 9 Make-Ahead Thanksgiving Sides
- Creamy Make-Ahead Mashed Potatoes — 20 mins prep, 25 mins cook, reheat 30–35 mins · about $0.95 per serving · serves 8 as a side dish
- Sweet Potato Casserole with Pecan Topping — 20 mins prep, 30 mins bake, reheat 25–30 mins · about $1.55 per serving · serves 8 as a side dish
- Classic Green Bean Casserole — 15 mins prep, 25 mins bake, reheat 25–30 mins · about $1.25 per serving · serves 8 as a side dish
- Sausage and Herb Stuffing — 25 mins prep, 35–40 mins bake, reheat 25–30 mins · about $1.45 per serving · serves 8 as a side dish
- Roasted Brussels Sprouts with Bacon — 15 mins prep, 25 mins roast, reheat 12–15 mins · about $1.70 per serving · serves 8 as a side dish
- Honey-Glazed Carrots — 15 mins prep, 20 mins cook, reheat 15–20 mins · about $0.95 per serving · serves 8 as a side dish
- Corn Casserole — 10 mins prep, 45 mins bake, reheat 25–30 mins · about $1.05 per serving · serves 8 as a side dish
- Cranberry Sauce with Orange — 5 mins prep, 15 mins cook, serve chilled or warmed gently · about $1.10 per serving · serves 8 as a side dish
- Make-Ahead Turkey Gravy — 10 mins prep, 20 mins cook, reheat to a full boil · about $0.90 per serving · serves 8 as a side dish
The rules that apply to every recipe below: pantry staples — salt, black pepper, cooking oil and water — are listed separately under every recipe and never counted as bought ingredients. Every baked side is made in a 9×13-inch (33 x 23 cm) baking dish and reheated at 350°F (175°C). Cover a made-ahead dish tightly, chill it within 2 hours of cooking, and keep it in the fridge for 1–2 days at most before reheating. Take a dish out of the fridge while the oven heats — about 30 minutes on the counter is plenty, and a dish should never sit out for more than 2 hours in total. Reheat until the food is steaming hot throughout, and only reheat a side once.
1. Creamy Make-Ahead Mashed Potatoes
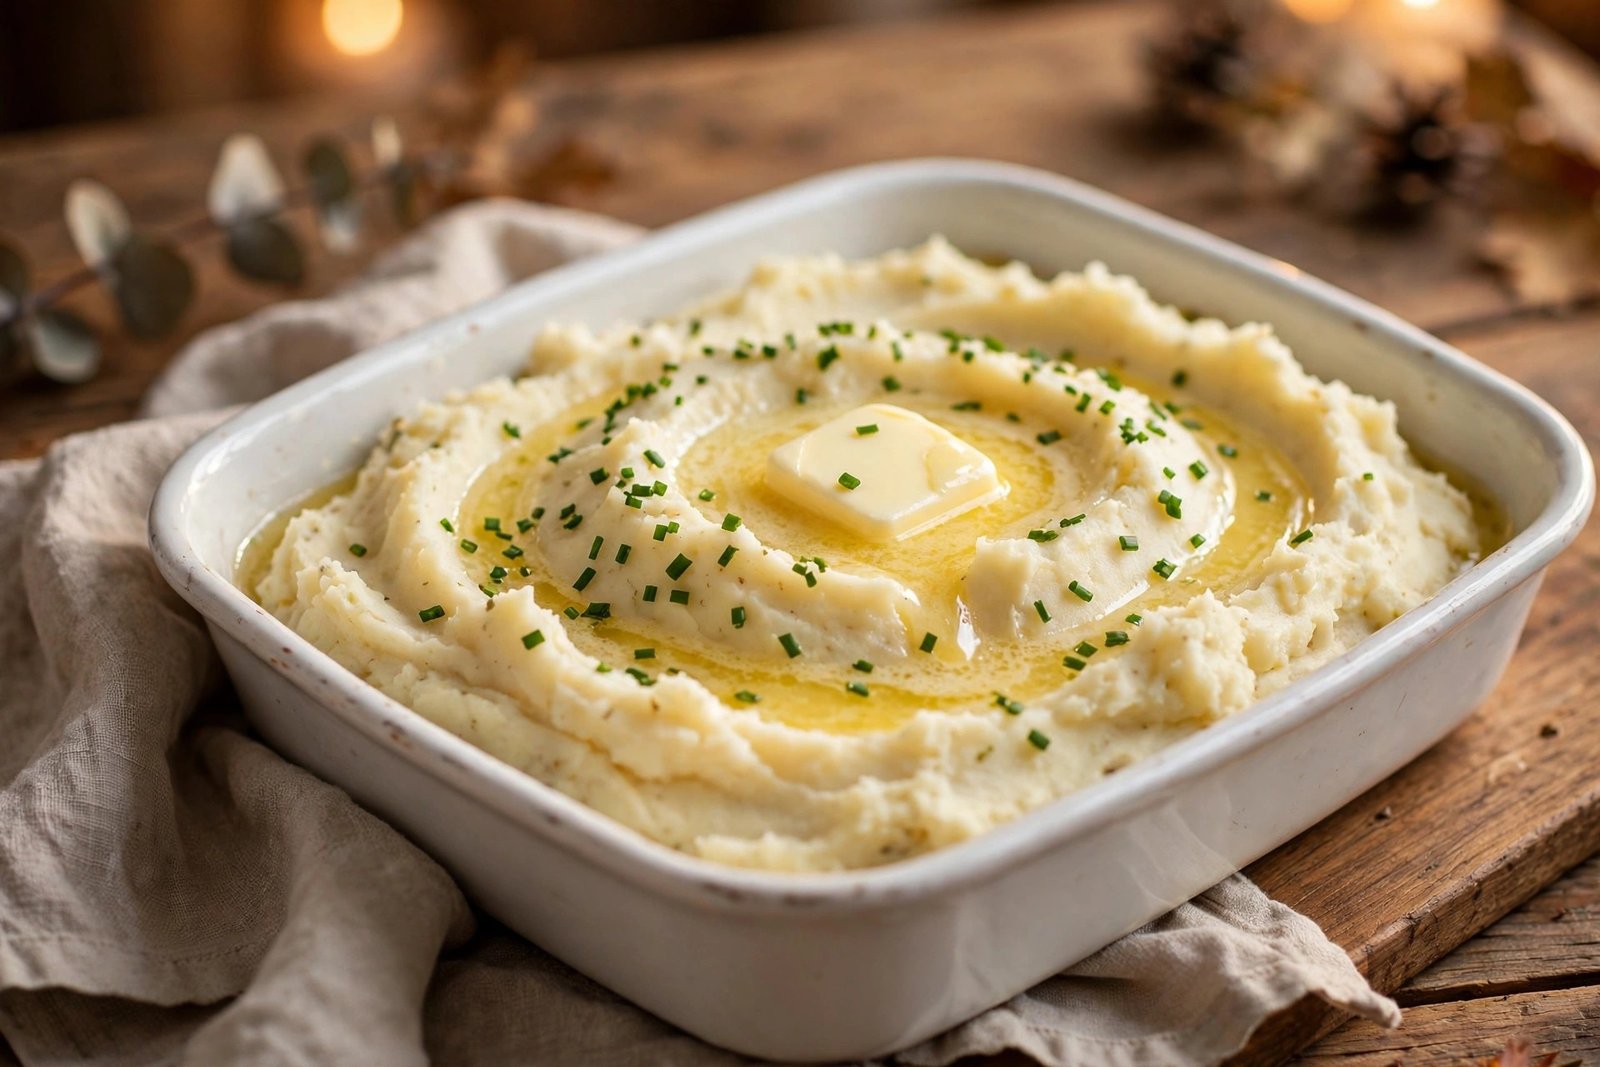
Ready in: 20 mins prep, 25 mins cook on the day you make them; make 1–2 days ahead, then reheat 30–35 mins at 350°F (175°C) on the day · About $0.95 per serving · Serves 8 as a side dish
Ingredients
- 4 lb (1.8 kg) floury potatoes, peeled and cut into even chunks
- 8 oz (225 g) cream cheese, softened and cubed
- ½ cup (120 ml) sour cream (or plain Greek yogurt)
- ½ cup (120 ml) milk, plus 2–3 tablespoons more for reheating
- 4 tablespoons (55 g) butter, plus a little more for the top
- 2 cloves garlic, minced (optional)
Pantry staples you probably have: salt, black pepper, cooking oil, water — declared here and never counted as bought ingredients.
Method
- Put the potato chunks into a large saucepan, cover with cold water, add a good pinch of salt, and bring to the boil. Simmer for 20–25 minutes, until a chunk gives completely when pressed with a fork.
- Drain well and return the potatoes to the hot pan for 1 minute, shaking gently, so the surface steam dries off — wet potatoes make loose mash.
- Mash until smooth, then beat in the cream cheese, sour cream, milk, butter and garlic if using, until the cream cheese has melted through. Season with salt and black pepper and taste.
- Spoon into a greased 9×13-inch (33 x 23 cm) baking dish, swirl the top, and dot with a little extra butter. Cool for up to 1 hour, then cover tightly and chill for 1–2 days.
- On the day: take the dish out of the fridge while the oven heats to 350°F (175°C). Drizzle the extra milk over the top, cover with foil, and reheat for 25 minutes. Uncover and reheat for 5–10 minutes more, until steaming hot throughout, then stir once and serve.
Food safety: Refrigerate the finished dish within 2 hours of mashing, keep it chilled for 1–2 days at most, and reheat until steaming hot throughout — 165°F (74°C) in the centre — before serving. Do not reheat the potatoes a second time.
The mash that waits for you instead of the other way round — the cream cheese is what keeps it soft after a night or two in the fridge.
2. Sweet Potato Casserole with Pecan Topping
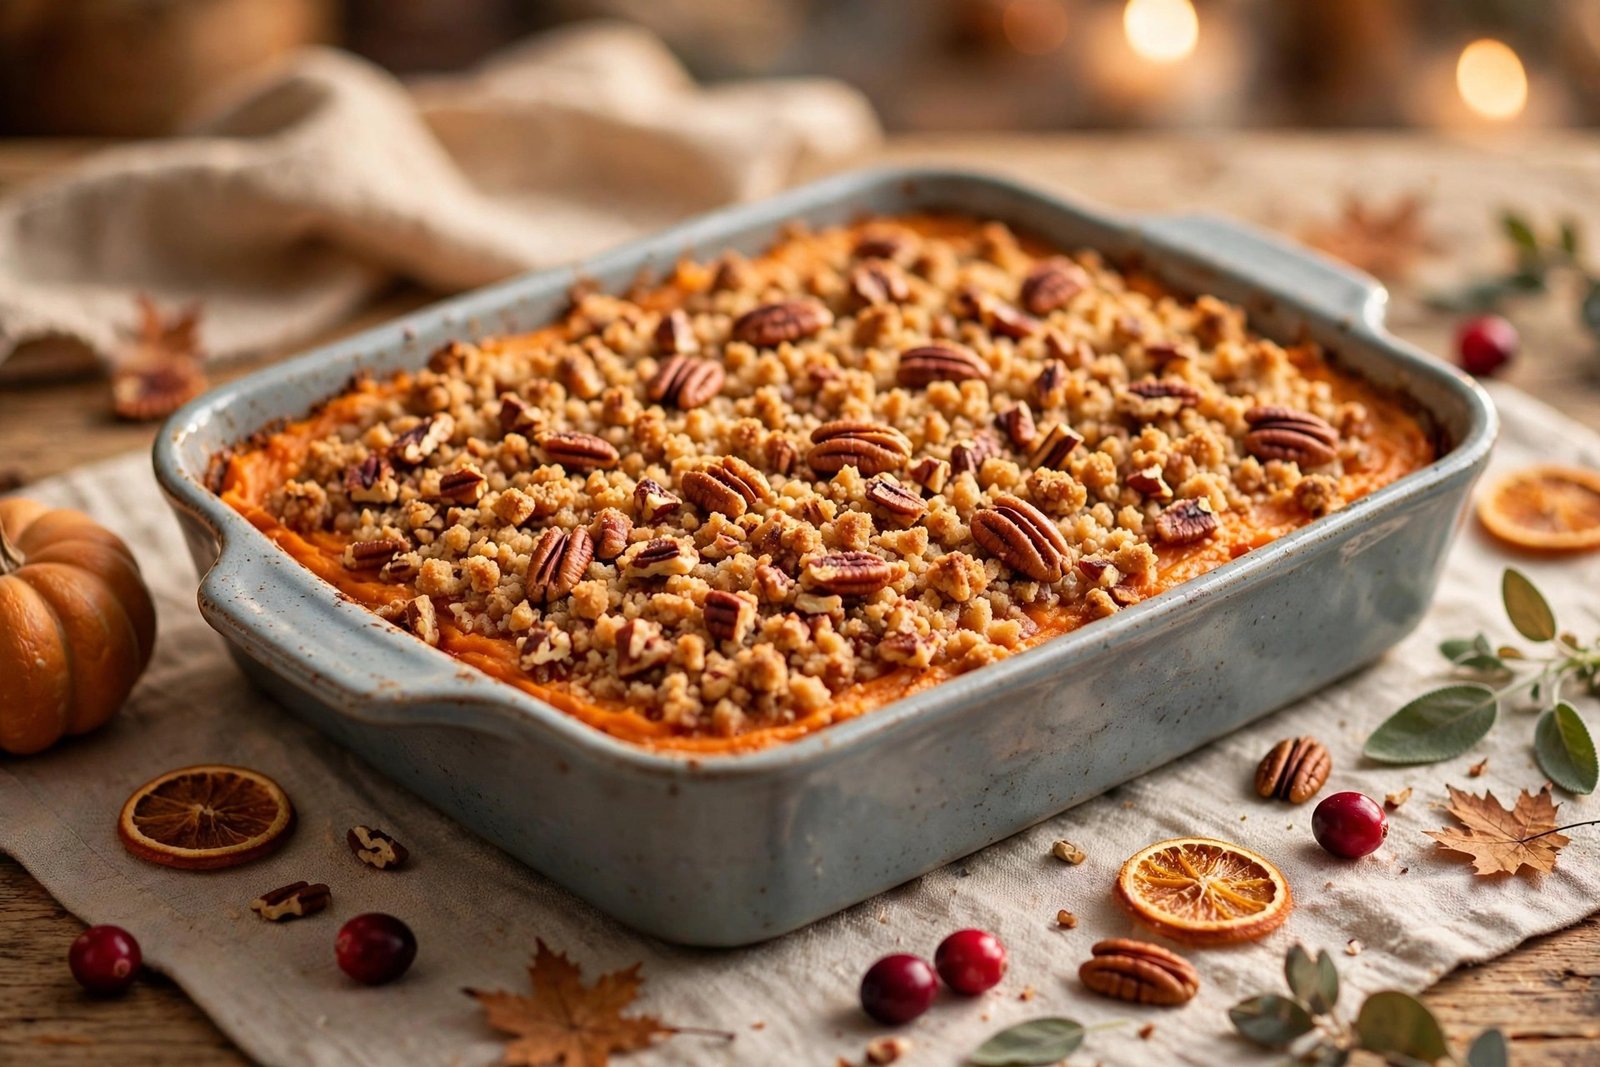
Ready in: 20 mins prep, 30 mins bake on the day you make it; make 1–2 days ahead, then reheat 25–30 mins at 350°F (175°C) on the day · About $1.55 per serving · Serves 8 as a side dish
Ingredients
- 4 lb (1.8 kg) sweet potatoes, peeled and cut into chunks
- 4 tablespoons (55 g) butter, melted
- ⅓ cup (80 ml) milk
- ⅓ cup (65 g) brown sugar
- 2 large eggs, beaten
- 1 teaspoon vanilla extract; ½ teaspoon ground cinnamon
- For the topping: 1 cup (115 g) pecans, roughly chopped
- For the topping: ⅓ cup (65 g) brown sugar and ⅓ cup (40 g) plain flour / all-purpose flour
- For the topping: 3 tablespoons (40 g) butter, melted
Pantry staples you probably have: salt, black pepper, cooking oil, water — declared here and never counted as bought ingredients.
Method
- Put the sweet potato chunks into a large saucepan, cover with cold water, and bring to the boil. Simmer for 15–20 minutes, until completely tender, then drain well.
- Mash the sweet potatoes until smooth, then stir in the melted butter, milk, brown sugar, beaten eggs, vanilla and cinnamon. Season with a pinch of salt and taste.
- Spoon into a greased 9×13-inch (33 x 23 cm) baking dish and smooth the top. Mix the pecans, brown sugar and flour, stir in the melted butter until the mixture looks like coarse crumbs, and scatter it evenly over the top.
- Either bake now at 350°F (175°C) for 25–30 minutes, until the topping is golden and the centre is set, then cool, cover and chill — or cover the unbaked casserole and chill it for 1–2 days and bake it on the day. Both work; the baked-then-reheated version is the one to choose if oven space is tight on the day.
- To reheat a baked casserole: take it out of the fridge while the oven heats to 350°F (175°C), cover with foil, and reheat for 20 minutes. Uncover and reheat for 5–10 minutes more, until steaming hot throughout and the topping has crisped again.
Food safety: This casserole contains egg — refrigerate it within 2 hours whether baked or unbaked, keep it chilled for 1–2 days at most, and reheat or bake until steaming hot throughout — 165°F (74°C) in the centre — before serving.
Sweet, buttery and properly crunchy on top — and the topping goes back to crisp in the oven, which is the part most make-ahead versions lose.
3. Classic Green Bean Casserole
Ready in: 15 mins prep, 25 mins bake on the day you make it; make 1–2 days ahead, then reheat 25–30 mins at 350°F (175°C) on the day · About $1.25 per serving · Serves 8 as a side dish

Ingredients
- 2 lb (900 g) fresh green beans, trimmed and cut in half (or frozen green beans, thawed and drained well)
- 1 × 10½ oz (300 g) can condensed cream of mushroom soup
- ½ cup (120 ml) milk
- 1 teaspoon soy sauce (or Worcestershire sauce)
- 1½ cups (about 85 g) crispy fried onions, divided — half in the beans, half for the top
- 8 oz (225 g) mushrooms, sliced (optional, for a more mushroom-heavy sauce)
Pantry staples you probably have: salt, black pepper, cooking oil, water — declared here and never counted as bought ingredients.
Method
- If you are using the mushrooms, cook them in 1 tablespoon oil over medium-high heat for 5–6 minutes, until they have given up their liquid and started to colour. Leave this step out if you are not using them.
- Bring a large saucepan of salted water to the boil, add the fresh beans, and cook for 4–5 minutes, until bright green and just tender. Drain well. Frozen beans that have been thawed and drained do not need this step.
- Stir the soup, milk and soy sauce together in the 9×13-inch (33 x 23 cm) baking dish, then fold in the beans, the mushrooms if using, and half the crispy fried onions. Season with black pepper.
- Make-ahead choice: cover the dish now and chill it for 1–2 days with the onion topping still in its packet — or bake it now at 350°F (175°C) for 20–25 minutes, cool, cover and chill. Either way, keep the topping onions back until the day, or they go soft in the fridge.
- On the day: take the dish out of the fridge while the oven heats to 350°F (175°C). Cover with foil and reheat for 20–25 minutes, then uncover, scatter the remaining crispy fried onions over the top, and reheat for 5 minutes more, until steaming hot throughout and the onions are golden.
Food safety: Refrigerate the assembled or baked casserole within 2 hours, keep it chilled for 1–2 days at most, and reheat until steaming hot throughout — 165°F (74°C) in the centre — before serving.
The table expects this one exactly as it is — the only change worth making is keeping the onion topping crisp by adding it at the last minute.
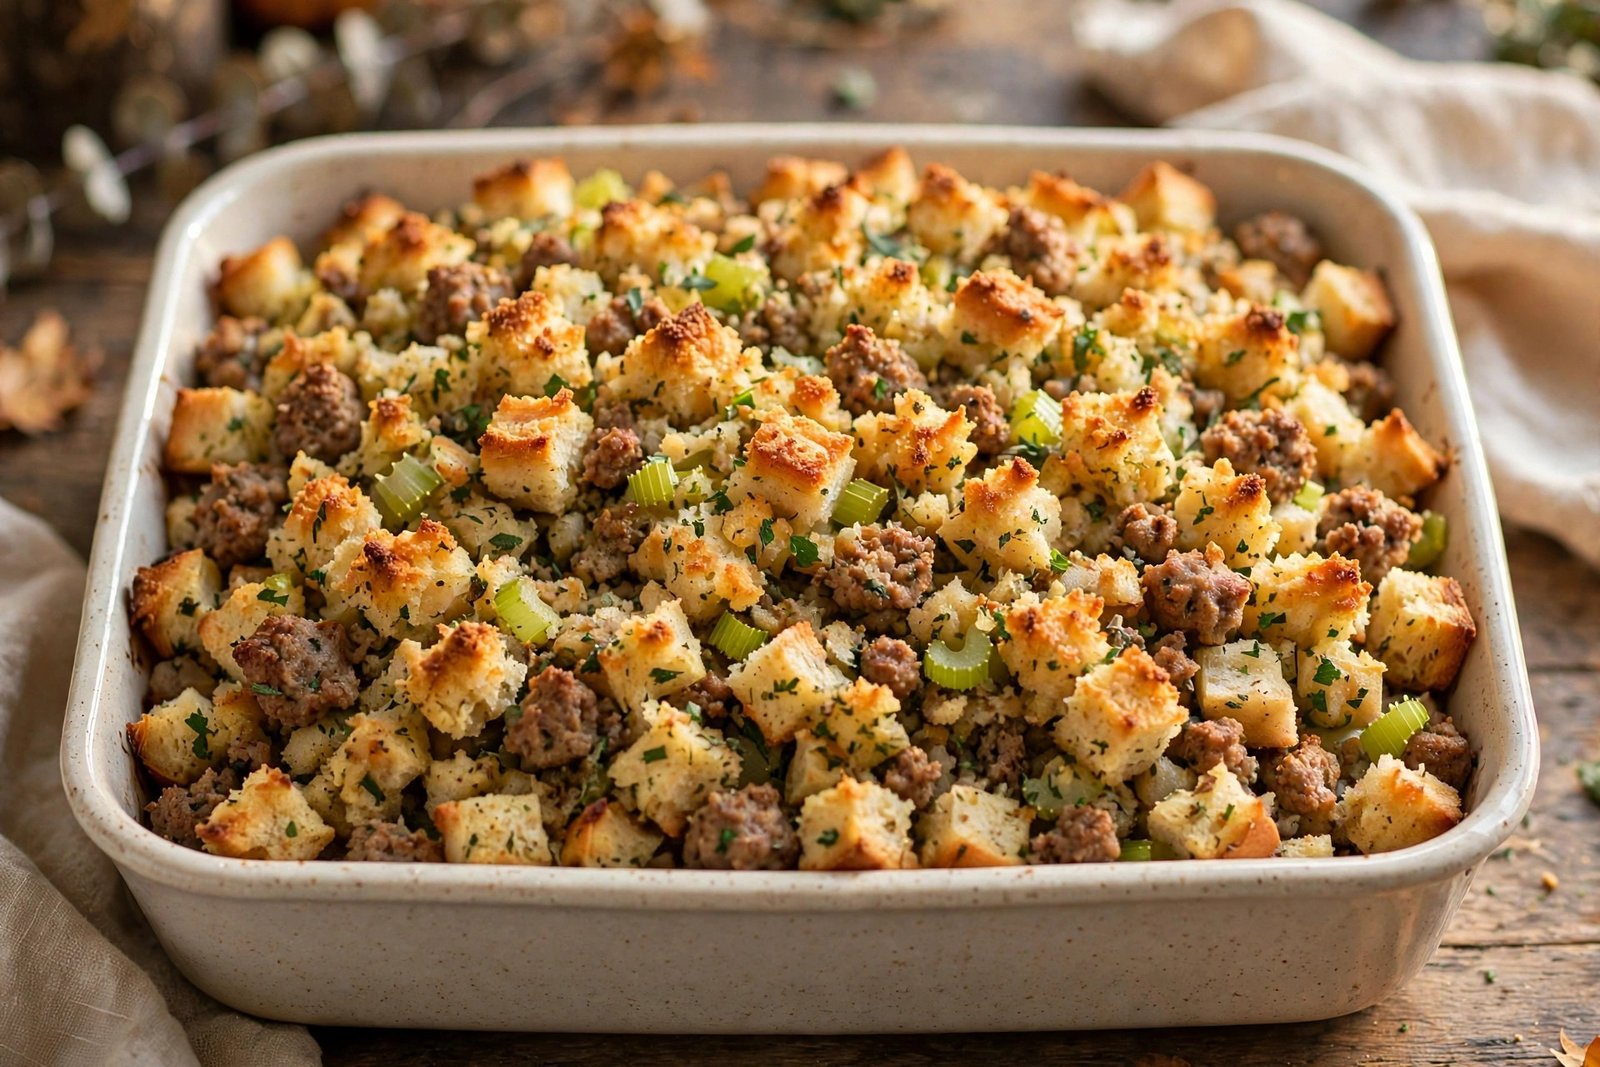
4. Sausage and Herb Stuffing
Ready in: 25 mins prep, 35–40 mins bake on the day you make it; make 1–2 days ahead, then reheat 25–30 mins at 350°F (175°C) on the day · About $1.45 per serving · Serves 8 as a side dish
Ingredients
- 12 cups (about 450 g) dried bread cubes — from about 1 large loaf, cut into ¾-inch (2 cm) cubes and left to dry overnight, or bought dried
- 1 lb (450 g) pork sausage meat (or sausages with the skins removed)
- 4 tablespoons (55 g) butter
- 1 large onion, finely diced (about 1½ cups / 225 g)
- 3 sticks celery, finely diced (about 1½ cups / 180 g)
- 2 cloves garlic, minced
- 2 tablespoons finely chopped fresh sage (or 2 teaspoons dried sage)
- 1 tablespoon fresh thyme leaves (or 1 teaspoon dried thyme); 2 tablespoons chopped fresh parsley
- 2 large eggs, beaten
- 2–2½ cups (480–600 ml) chicken or turkey stock, warm
Pantry staples you probably have: salt, black pepper, cooking oil, water — declared here and never counted as bought ingredients.
Method
- Brown the sausage first — this one is not optional. Cook it in a large frying pan over medium-high heat for 7–9 minutes, breaking it into small crumbles, until browned with no pink left. Lift it out with a slotted spoon and keep the fat in the pan.
- Add the butter to the same pan, then the onion and celery, and cook for 6–8 minutes, until softened. Stir in the garlic, sage and thyme for the last minute.
- Tip the bread cubes into a large bowl. Add the sausage and the onion mixture, then stir in the beaten eggs and 2 cups (480 ml) of the warm stock. The bread should be evenly moist but not swimming — add the last ½ cup (120 ml) of stock a splash at a time if it still looks dry. Season and stir in the parsley.
- Spoon into a greased 9×13-inch (33 x 23 cm) baking dish and press down gently. Cover and bake at 350°F (175°C) for 25 minutes, then uncover and bake for 10–15 minutes more, until the top is golden and crisp at the edges.
- Make-ahead: cool the baked stuffing, cover the dish tightly, and chill for 1–2 days. On the day, take it out of the fridge while the oven heats to 350°F (175°C), drizzle 2–3 tablespoons of stock over the top so it does not dry out, cover with foil, and reheat for 20–25 minutes. Uncover and reheat for 5 minutes more, until steaming hot throughout and the top has crisped again.
Food safety: Cook the sausage until its internal temperature reaches at least 160°F (71°C) during the browning step — check with a food thermometer; colour alone is not a reliable guide. The finished stuffing, which contains sausage, egg and stock, must reach 165°F (74°C) in the centre when baked and again when reheated. Refrigerate it within 2 hours and keep it chilled for 1–2 days at most.
The side people go back for — crisp on top, soft underneath, and safe reheated because it was cooked through properly the first time.
5. Roasted Brussels Sprouts with Bacon
Ready in: 15 mins prep, 25 mins roast on the day you make them; make 1–2 days ahead, then reheat 12–15 mins at 350°F (175°C) on the day · About $1.70 per serving · Serves 8 as a side dish

Ingredients
- 2 lb (900 g) Brussels sprouts, trimmed and halved
- 6 slices streaky bacon (about 6 oz / 170 g), cut into small pieces
- 2 cloves garlic, minced (optional)
- 1 tablespoon maple syrup or honey, for the last 5 minutes (optional)
- 1 teaspoon balsamic vinegar, to finish (optional)
Pantry staples you probably have: salt, black pepper, cooking oil, water — declared here and never counted as bought ingredients. The bacon gives up its own fat for roasting, which is why no extra oil is listed as a bought ingredient.
Method
- Heat the oven to 400°F (200°C) for the first roast — the reheating temperature on the day is lower, and the recipe says so again below. Put the bacon pieces into two 9×13-inch (33 x 23 cm) baking dishes and roast for 5 minutes, until the fat starts to run.
- Add the halved sprouts to the dishes, cut sides down where you can, and toss them in the bacon fat with salt and black pepper. Spread them out — sprouts piled on top of each other steam instead of roasting, so two dishes is the point, not a shortcut.
- Roast for 18–22 minutes, turning once halfway, until the cut sides are deep golden and the centres are tender when pressed with a fork. Stir in the garlic and the maple syrup or honey if using for the last 5 minutes.
- Make-ahead: cool the sprouts in their dishes, cover, and chill for 1–2 days. Keep the balsamic vinegar back until serving.
- On the day: take the dishes out of the fridge while the oven heats to 350°F (175°C). Reheat uncovered for 12–15 minutes, until steaming hot throughout and the edges have crisped again, then finish with the balsamic vinegar if using and serve straight away — this is the side to reheat last.
Food safety: Cook the bacon through until crisp and cooked in the first roast — do not add raw bacon to sprouts you plan to serve after only a short reheat. Refrigerate the roasted sprouts within 2 hours, keep them chilled for 1–2 days at most, and reheat until steaming hot throughout before serving.
The one side here that wants a short, hot reheat rather than a long one — fifteen minutes brings the crisp edges back without cooking the sprouts to pieces.
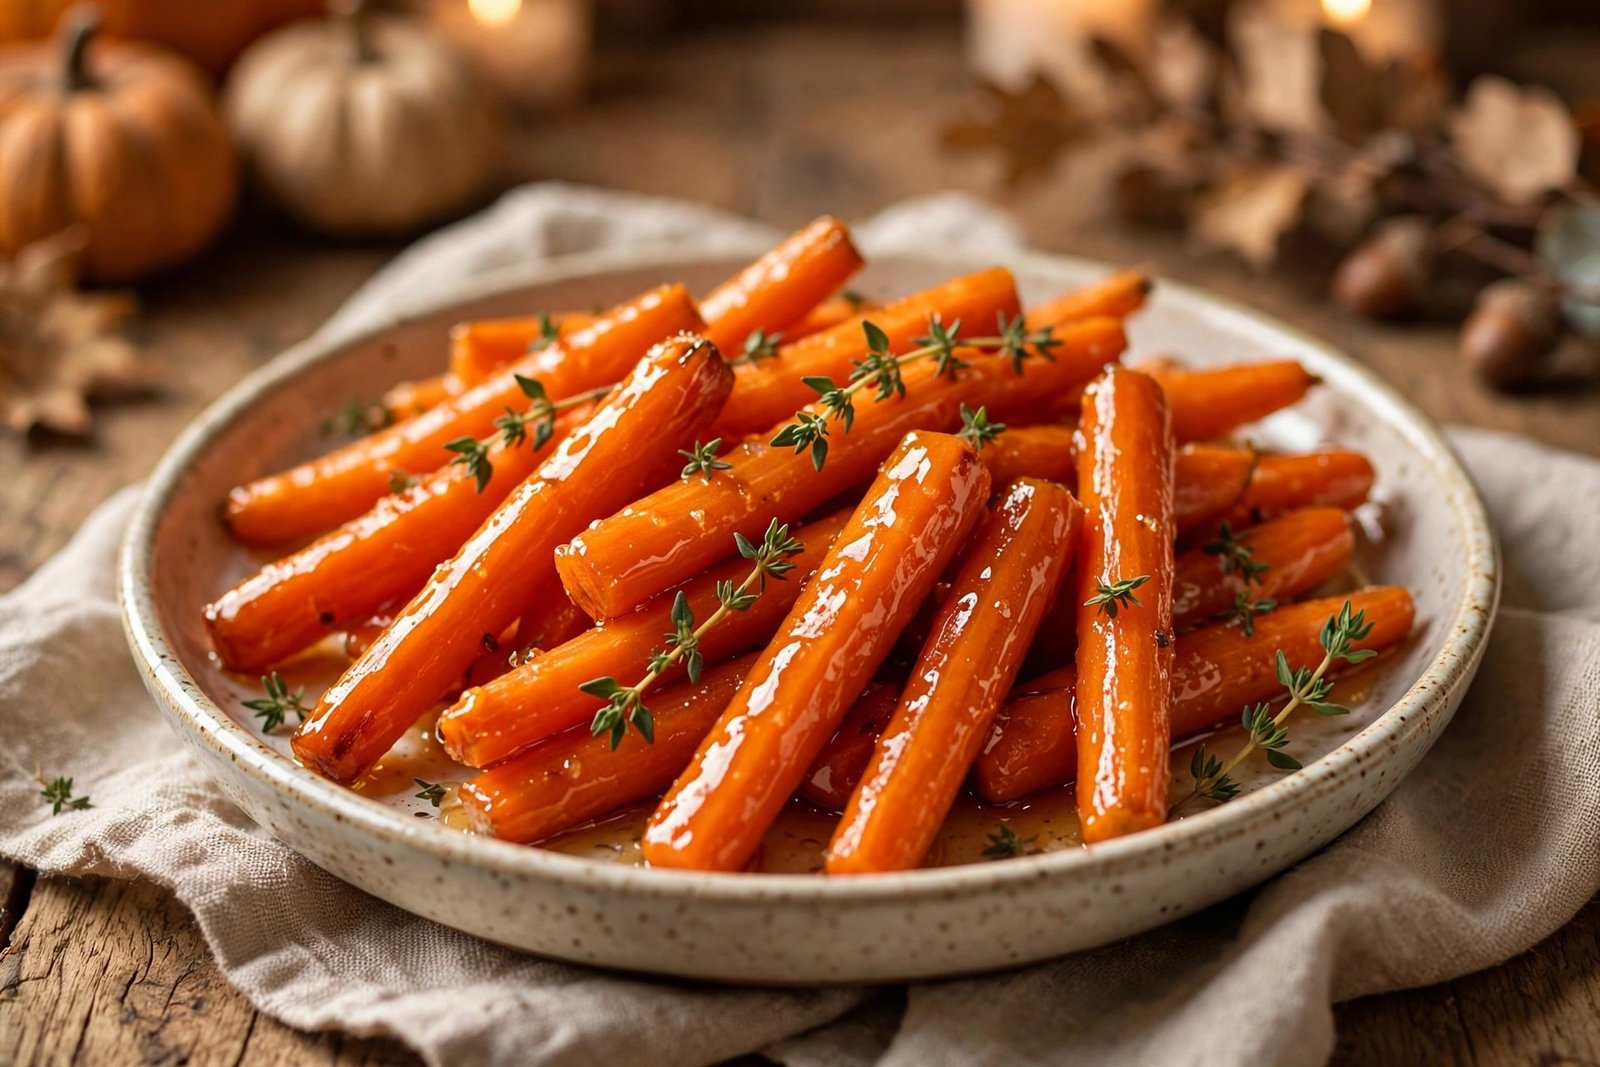
6. Honey-Glazed Carrots
Ready in: 15 mins prep, 20 mins cook on the day you make them; make 1–2 days ahead, then reheat 15–20 mins at 350°F (175°C) on the day · About $0.95 per serving · Serves 8 as a side dish
Ingredients
- 3 lb (1.4 kg) carrots, peeled and cut into diagonal slices about ½ inch (1.25 cm) thick
- 3 tablespoons (40 g) butter
- ⅓ cup (80 ml) honey
- 1 tablespoon brown sugar (optional, for a deeper glaze)
- ½ teaspoon ground cinnamon (optional)
- 2 tablespoons chopped fresh parsley, to serve (optional)
Pantry staples you probably have: salt, black pepper, cooking oil, water — declared here and never counted as bought ingredients.
Method
- Put the carrot slices into a large saucepan, cover with cold water, add a pinch of salt, and bring to the boil. Simmer for 8–10 minutes, until just tender when pressed with a fork — stop a minute early, because they cook again in the glaze and again on reheating.
- Drain the carrots. Melt the butter in the same pan over medium heat, stir in the honey, the brown sugar and cinnamon if using, and let the mixture bubble for 1 minute.
- Return the carrots to the pan and toss gently for 3–4 minutes, until every slice is glossy and the glaze has thickened slightly. Season with salt and black pepper and taste — the glaze should taste sweet first and salty second.
- Tip the carrots and all their glaze into a 9×13-inch (33 x 23 cm) baking dish. Cool, cover tightly, and chill for 1–2 days.
- On the day: take the dish out of the fridge while the oven heats to 350°F (175°C). Cover with foil and reheat for 15–20 minutes, stirring once halfway, until steaming hot throughout. Scatter the parsley over if using and serve.
Food safety: This is a meat-free side — refrigerate it within 2 hours of cooking, keep it chilled for 1–2 days at most, and reheat until steaming hot throughout before serving. Do not leave the dish sitting out on the table for more than 2 hours.
Bright, sweet and the easiest dish on the table to make early — the glaze loosens again in the oven and coats the carrots just as it did on the first day.
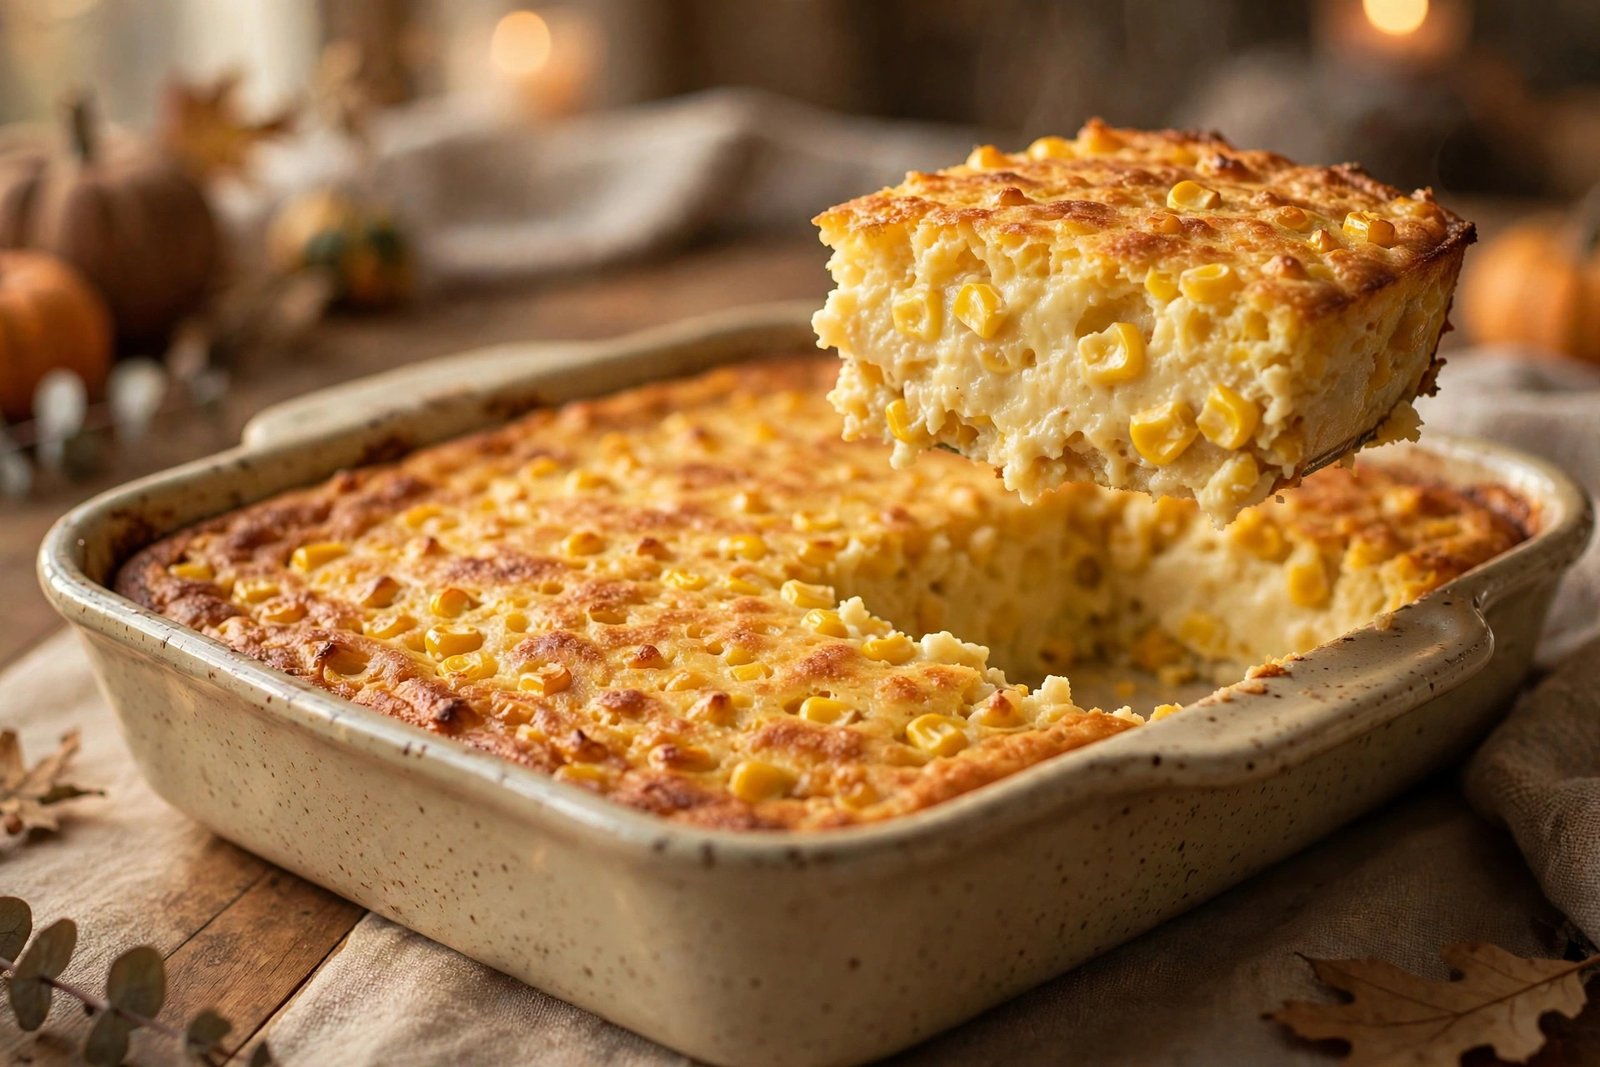
7. Corn Casserole
Ready in: 10 mins prep, 45 mins bake on the day you make it; make 1–2 days ahead, then reheat 25–30 mins at 350°F (175°C) on the day · About $1.05 per serving · Serves 8 as a side dish
Ingredients
- 1 × 15 oz (425 g) can sweetcorn kernels, drained
- 1 × 15 oz (425 g) can creamed corn
- 1 × 8½ oz (240 g) box corn muffin / cornbread mix
- 1 cup (240 ml) sour cream (or plain Greek yogurt)
- 8 tablespoons (115 g) butter, melted
- 2 large eggs, beaten
- 1 cup (115 g) grated cheddar (optional, for the top)
Pantry staples you probably have: salt, black pepper, cooking oil, water — declared here and never counted as bought ingredients.
Method
- Stir the drained corn, creamed corn, cornbread mix, sour cream, melted butter and beaten eggs together in a large bowl until just combined — a few small lumps are fine, and overmixing makes the casserole dense.
- Spoon into a greased 9×13-inch (33 x 23 cm) baking dish and smooth the top. Scatter the cheddar over if using.
- Bake at 350°F (175°C) for 40–45 minutes, until set in the centre, golden at the edges, and a knife pressed into the middle comes out with moist crumbs rather than wet batter.
- Cool, cover the dish tightly, and chill for 1–2 days.
- On the day: take the dish out of the fridge while the oven heats to 350°F (175°C). Cover with foil and reheat for 20–25 minutes, then uncover and reheat for 5 minutes more, until steaming hot throughout. Rest for 5 minutes before serving — it slices and scoops better for the pause.
Food safety: This casserole contains egg and dairy — refrigerate it within 2 hours of baking, keep it chilled for 1–2 days at most, and reheat until steaming hot throughout — 165°F (74°C) in the centre — before serving.
Part corn, part spoon bread, entirely the dish that empties first — ten minutes of stirring is the whole job, and it can be done two days early.
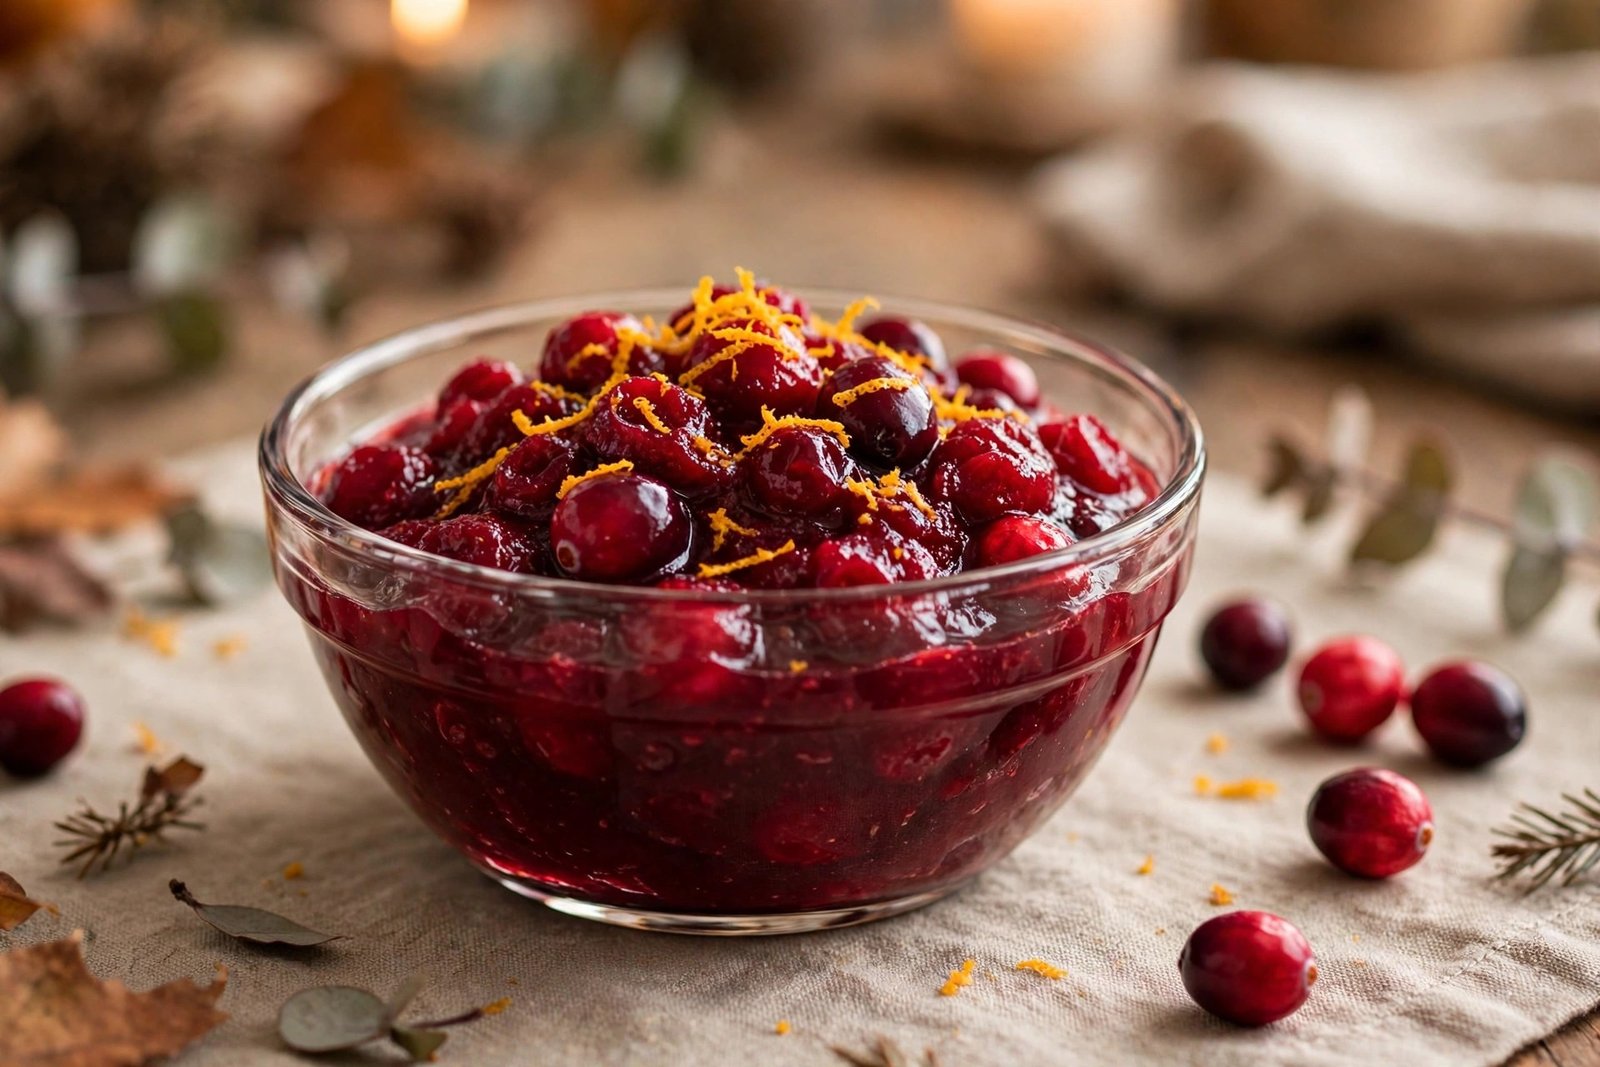
8. Cranberry Sauce with Orange
Ready in: 5 mins prep, 15 mins cook on the day you make it; make 1–2 days ahead and chill, then serve cold, at room temperature, or warmed gently on the day · About $1.10 per serving · Serves 8 as a side dish
Ingredients
- 24 oz (680 g) fresh or frozen cranberries — 2 × 12 oz (340 g) bags; frozen berries do not need thawing
- 1 cup (200 g) sugar, plus 2–3 tablespoons more to taste
- 1 cup (240 ml) orange juice
- Finely grated zest of 1 orange
- ½ teaspoon ground cinnamon (optional)
- A pinch of salt — it keeps the sauce tasting like fruit rather than jam
Pantry staples you probably have: salt, black pepper, cooking oil, water — declared here and never counted as bought ingredients. (The pinch of salt in the ingredients above is part of the recipe, not a pantry shortcut.)
Method
- Put the cranberries, sugar, orange juice and ½ cup (120 ml) water into a large saucepan. The berries will look like too many for the liquid — they are not; they collapse as they cook.
- Bring to the boil over medium-high heat, then lower to a steady simmer for 10–12 minutes, stirring now and then, until most of the berries have burst and the sauce has thickened enough to coat the back of a spoon. Some whole berries should stay whole — a sauce that is completely smooth has gone too far.
- Take the pan off the heat and stir in the orange zest and the cinnamon if using. Taste while it is warm: cranberries vary, so add the extra sugar a tablespoon at a time if it is sharper than you like. Remember it will taste a little less sweet once chilled.
- Tip into a serving bowl or a lidded container, cool, cover, and chill for 1–2 days. The sauce sets to a soft, spoonable gel in the fridge — that is the cranberries doing their own work.
- On the day: serve it cold or let it sit out for 30 minutes to take the chill off. If your table likes it warm, warm it gently in a small saucepan over low heat for 3–4 minutes, stirring, until just steaming — do not boil it, or the set goes loose.
Food safety: This is a meat-free side — refrigerate it within 2 hours of cooking, keep it chilled and covered, and do not leave the serving bowl sitting out for more than 2 hours. If you warm it, warm only what you will serve and reheat it until steaming, not boiling.
The only side here that is genuinely better made ahead — a day in the fridge lets the orange settle into the berries and takes the raw edge off the sugar.
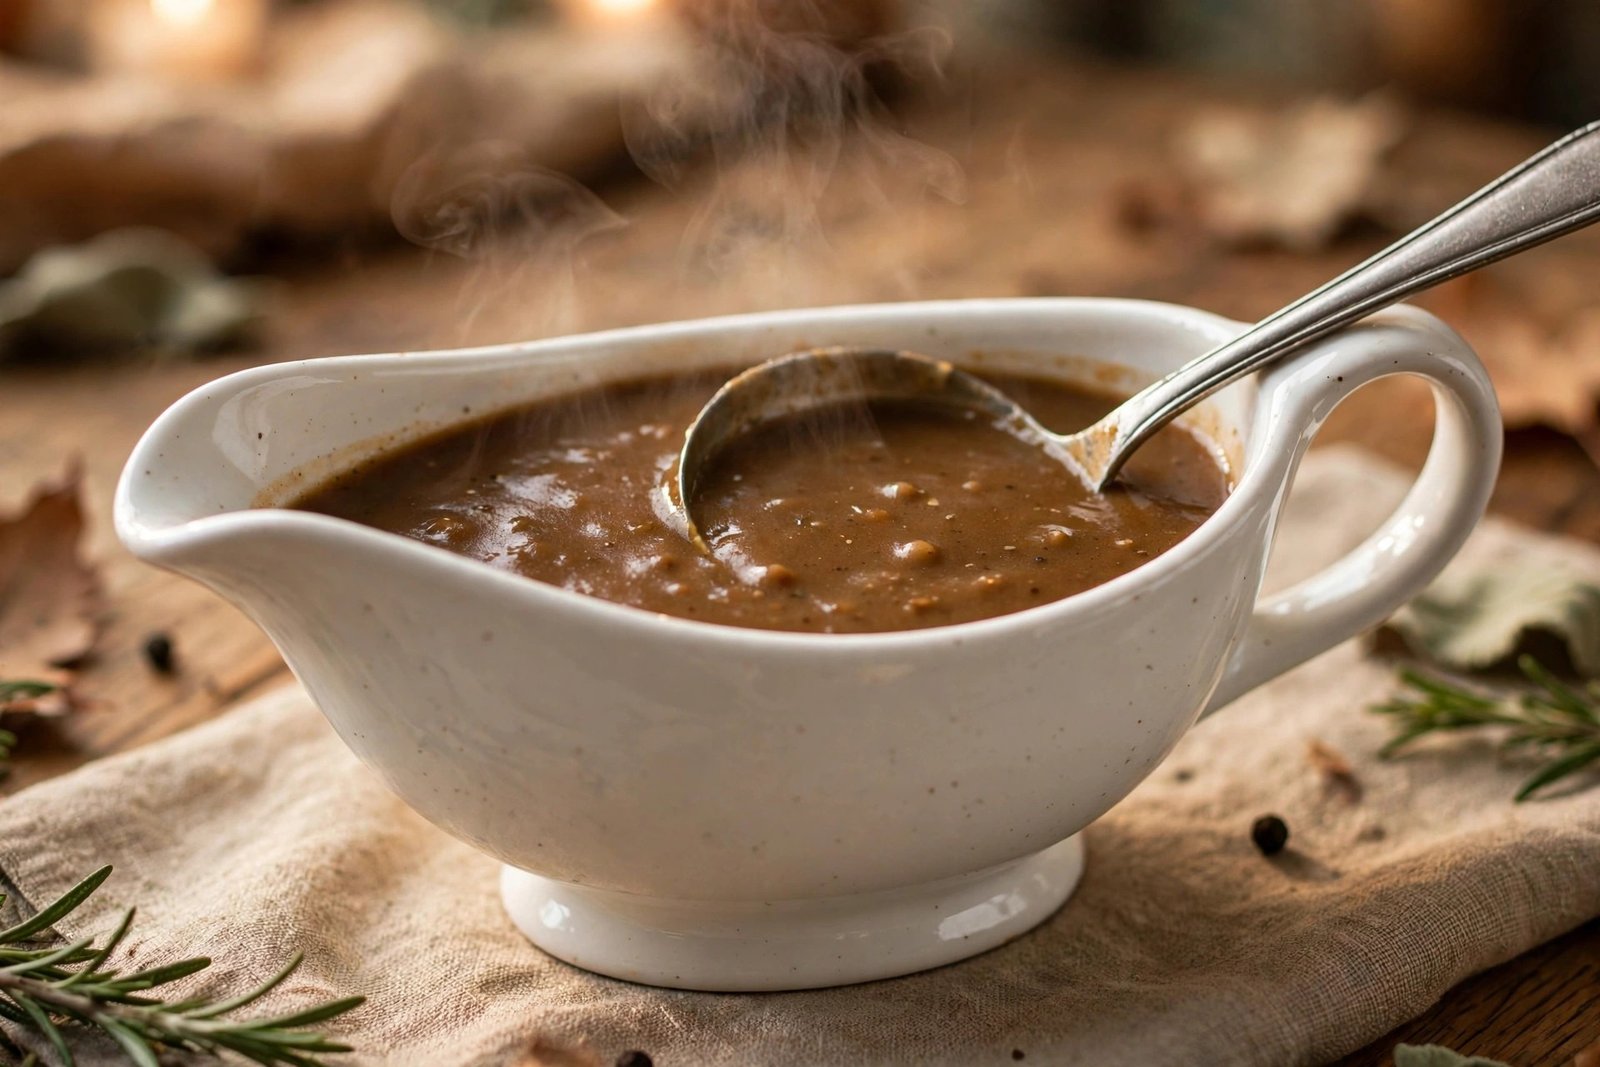
9. Make-Ahead Turkey Gravy
Ready in: 10 mins prep, 20 mins cook on the day you make it; make 1–2 days ahead, then reheat to a full boil on the day · About $0.90 per serving · Serves 8 as a side dish — about 3 cups (720 ml), roughly ⅓ cup (80 ml) each
Ingredients
- 4 tablespoons (55 g) butter — or 4 tablespoons of fat skimmed from turkey drippings, if you already have them
- ½ cup (60 g) plain flour / all-purpose flour
- 4 cups (960 ml) turkey or chicken stock — bought, or made from the giblets and neck if you have them
- 1 teaspoon soy sauce (optional, for colour and depth)
- ½ teaspoon dried sage or dried thyme (optional)
- Turkey pan drippings on the day, to stir in at the end (optional, but worth it)
Pantry staples you probably have: salt, black pepper, cooking oil, water — declared here and never counted as bought ingredients.
Method
- Melt the butter in a large saucepan over medium heat. Stir in the flour and cook, stirring all the time, for 2–3 minutes, until the mixture smells nutty and turns a shade darker — this cooks the flour so the gravy never tastes raw.
- Pour in the stock a splash at a time at first, stirring hard after each addition so no lumps form, then add the rest in a steady stream. Stir in the soy sauce and the herbs if using.
- Bring to a full boil, then lower to a simmer for 8–10 minutes, stirring now and then, until the gravy coats the back of a spoon and leaves a clear line when you run a finger through it. Season with salt and black pepper and taste — stock varies, so season at the end, not the start.
- Cool the gravy, pour it into a lidded container or a jug, cover, and chill for 1–2 days. It will set firm and a layer of fat may rise to the top — both are normal; keep the fat, it stirs back in.
- On the day: tip the gravy into a saucepan, add 2–3 tablespoons of water, and reheat over medium heat, stirring and breaking up the set gravy as it melts, until it reaches a full rolling boil and is steaming throughout. Stir in a spoonful of hot turkey pan drippings if you have them, taste, adjust the seasoning, and pour into a warm jug.
Food safety: Gravy must be reheated to a full rolling boil — steaming hot throughout, 165°F (74°C) — before serving, and stirred while it heats so no cold pocket survives in the middle. Refrigerate gravy within 2 hours of making it and again within 2 hours of serving it, keep it chilled for 1–2 days at most before the meal, and throw away gravy that has been reheated once already.
Gravy is the job nobody wants at the last minute, with the turkey resting and everyone in the kitchen — making it ahead turns it into a reheat and a stir.
What It Costs
Based on prices checked in October 2026 at a large US supermarket. Your cost will vary by store and season — the point is the ballpark, not the penny. Per serving, with every side serving 8 as a side dish: Make-Ahead Turkey Gravy about $0.90, Creamy Make-Ahead Mashed Potatoes about $0.95, Honey-Glazed Carrots about $0.95, Corn Casserole about $1.05, Cranberry Sauce with Orange about $1.10, Classic Green Bean Casserole about $1.25, Sausage and Herb Stuffing about $1.45, Sweet Potato Casserole with Pecan Topping about $1.55, and Roasted Brussels Sprouts with Bacon about $1.70. All nine sides together come to about $10.95 per person for the full set — and most tables will make four or five of them, not all nine.
Storage & Reheating
- Fridge first, for 1–2 days: Cool every made-ahead side quickly, cover the dish tightly, and refrigerate it within 2 hours of cooking. Every side in this post is written to be made 1–2 days ahead — do not stretch that window to three or four days to be safe.
- Reheating in the oven: Take a dish out of the fridge while the oven heats to 350°F (175°C) — about 30 minutes on the counter, and never more than 2 hours out in total. Cover with foil for most of the reheat so the top does not dry out, then uncover for the last 5–10 minutes. Reheat times: mashed potatoes 30–35 minutes, sweet potato casserole 25–30 minutes, green bean casserole 25–30 minutes plus 5 minutes for the onion topping, stuffing 25–30 minutes with a drizzle of stock, Brussels sprouts 12–15 minutes uncovered, glazed carrots 15–20 minutes, corn casserole 25–30 minutes.
- Reheating on the hob: The cranberry sauce is served cold, at room temperature, or warmed gently for 3–4 minutes until just steaming. The gravy is the exception that matters: reheat it in a saucepan, stirring, until it reaches a full rolling boil.
- The temperature that counts: Stuffing, gravy, and the egg and dairy casseroles must reach 165°F (74°C) in the centre when reheated. The other sides should be steaming hot throughout. A food thermometer pressed into the centre of the dish settles it — the edges always heat first.
- Freezer: The mashed potatoes, corn casserole and cranberry sauce freeze acceptably for up to 1 month and come back with a good stir after reheating; the cranberry sauce is the best freezer of the nine. The stuffing freezes before its final bake for up to 1 month if it is thawed in the fridge overnight and then baked until it reaches 165°F (74°C) in the centre. The sprouts, carrots and green bean casserole are better made 1–2 days ahead and kept in the fridge — freezing softens them — and the gravy is best made fresh in its 1–2 day window rather than frozen.
- Leftovers after the meal: Refrigerate leftovers within 2 hours of serving, use them within 3–4 days, and reheat them only once, until steaming hot throughout. Gravy that has already been reheated once should be thrown away, not reheated again.
Easy Swaps & Variations
- Swap the dish, keep the plan: every baked side here is written for a 9×13-inch (33 x 23 cm) dish. Two smaller dishes work in the same oven at the same 350°F (175°C) — start checking them 5 minutes early, because a shallower layer heats faster.
- No pecans: the sweet potato topping works with chopped walnuts, with plain breadcrumbs mixed with brown sugar and butter, or left off entirely with a little extra butter dotted over the top before reheating.
- Stuffing without sausage: leave the sausage out, cook the onion and celery in the butter plus 1 tablespoon oil, add 8 oz (225 g) sliced mushrooms for the savoury weight, and use vegetable stock. The 165°F (74°C) centre temperature still applies, because the stuffing contains egg and stock.
- Make it a smaller table: every side halves cleanly for 4 as a side dish. Halve the ingredients, keep the same dish if you like a thinner layer, and start checking the reheat 5–10 minutes early. The cranberry sauce and gravy also halve cleanly.
- Two sweet, two savoury, one wild card: if you are not making all nine, the set that covers a table best is the mashed potatoes, the stuffing, the cranberry sauce and the gravy — then add the sprouts or the carrots for something that is not baked in a dish.
FAQs
How far ahead can I really make Thanksgiving sides?
One to two days ahead is the window every recipe in this post is written for. Make the sides on the Tuesday or Wednesday, cover the dishes tightly, chill them within 2 hours, and reheat them on the day at 350°F (175°C) until steaming hot throughout. The cranberry sauce is the one that is actively better on day two; the Brussels sprouts are the one to reheat last and shortest.
Do I need to bring a dish to room temperature before reheating it?
No — and a dish should never sit out for more than 2 hours in total. Taking it out of the fridge while the oven heats, about 30 minutes, is enough to take the hardest chill off the centre so the edges do not overcook while the middle catches up. The reheat times in each recipe already allow for a fridge-cold start.
Can all the sides really reheat at the same temperature?
Yes — that is the design of the post. Everything baked reheats at 350°F (175°C), so the dishes can go in together in shifts: the mashed potatoes and corn casserole first, because they take the longest, the sprouts last, because they take 12–15 minutes and dry out if they wait. The cranberry sauce and gravy are handled on the hob while the oven works.
How do I know a reheated casserole is hot enough in the middle?
Press a food thermometer into the centre of the dish — the centre is always the last part to heat, and the edges will look ready long before it is. Stuffing, gravy and the egg and dairy casseroles need 165°F (74°C) in the centre; the other sides should be steaming throughout. If the centre is short, cover the dish with foil and give it 5 minutes more rather than turning the oven up.
Can I freeze these sides instead of making them two days ahead?
Some of them. The mashed potatoes, corn casserole and cranberry sauce freeze for up to 1 month, and the stuffing freezes before its final bake. The sprouts, carrots and green bean casserole lose their texture in the freezer, and the gravy is better inside its 1–2 day fridge window. The full detail is in Storage & Reheating above.
Made this? Pin it for the big day 📌 — it genuinely helps Weeknight Foodie grow.
You might also like:
- 12 Easy 5-Ingredient Slow Cooker Dinners — hands-off dinners for the nights around the holiday, when nobody wants to cook twice
- 7 Cosy Non-Alcoholic Christmas Drinks — drinks everyone can have, for this meal and the next big one
- 13 Dump-and-Go Slow Cooker Recipes — more load-it-and-leave-it cooking for the busiest week of the year